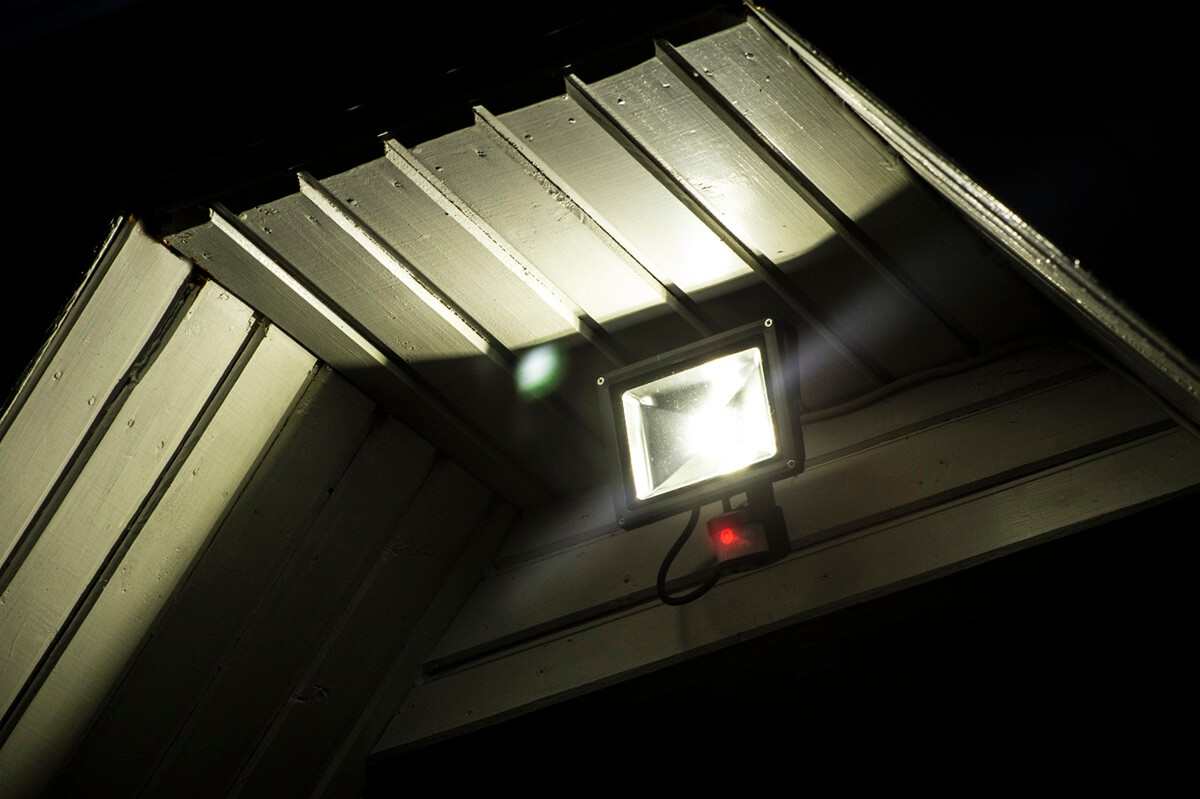
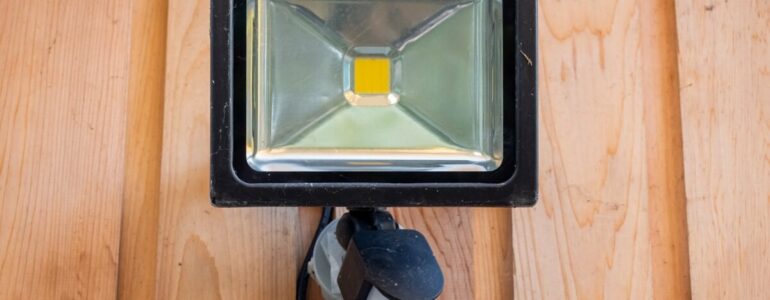
If you’ve just bought a new outdoor sensor light, it’s a good idea to test it to make sure it is working properly. This will also help you adjust sensor settings to the right levels. You may also need to test an outdoor light sensor if it is malfunctioning. For instance, if it won’t turn off or if it comes on at the wrong time.
Testing an outdoor light sensor is easy and takes a few minutes. Here is a quick guide.
Where is the Sensor Located on An Outdoor Light?

The first step is to locate the sensor. The sensor module contains all the settings that you’ll need to test and adjust.
In most outdoor motion sensor lights, the motion and light sensor is located underneath the lamp. You’ll see a module or sensor attached to the bottom of the lamp. It’s hard to miss. If you can’t find it, consult the user guide or contact the manufacturer for advice.
Some outdoor lights don’t have an integrated motion sensor. Instead, they are wired to a separate sensor that is usually located nearby.
Once you locate the sensor module, whether it is built-in or separate, look for the buttons that adjust various settings like lux and sensitivity. These are typically located at the back of the sensor module or lamp, though they may also be on the side or bottom.
Note: If you are doing these tests during the day, you’ll need to cover the photocell with black tape to make sure the light comes on when you run tests. Alternatively, turn on test mode if the sensor has one. This allows the light to come on even though it’s daytime.
How to Test The Placement of an Outdoor Light Sensor
The first thing you want to test is the placement of the light sensor. A lot of the time when you have unwanted light activation or if the light is not coming on when you need it to, the issue is where the sensor light is aimed at.
Walk in front of the sensor from different angles to see if the light comes on. Also try testing it at different heights. Crawl along the ground to see how low the sensor can ‘see’. Throw an object like a ball high across the sensor to see how ‘high’ it can see.
Generally, you don’t want the sensor to be aimed too low to the ground as it will pick up nuisance movements like pets walking by or leaves blowing on the ground. You also don’t want it to point too high as it might be triggered by tree branches, birds flying or movement on the street.
Make sure the sensor is located between 6 and 10 feet (1.8 to 3 metres) above the ground. Next, adjust the sensor so that it is aiming at the area where you want it to detect motion. Check if your motion sensor is adjustable. You may need to loosen some screws to swing it up and down or side to side.
If the sensor is not adjustable, you may need to adjust the light itself. Re-test the sensor placement again to make sure it’s now aimed at the right place.
By the way, motion sensor lights don’t just detect motion; they also detect thermal differences between objects like people and the ambient air. To avoid false alarms, avoid aiming the sensor at any area that’s likely to have a significant temperature difference from the surroundings like your AC condenser unit, the swimming pool or the hot tub.
How to Test The Sensitivity of an Outdoor Light Sensor
Once you’ve made sure the outdoor light sensor is properly placed, the next most important test is sensitivity. This refers to how easy or hard it is to trigger the sensor.
If sensitivity is too high, the light will be triggered by small objects like leaves or far away motion. You will get lots of false alarms, which will reduce the lifespan of your outdoor light. If sensitivity is too low, someone would need to be really close to trigger the light.
The best level of sensitivity depends on your particular situation and needs. If you have a large yard, you need high sensitivity to increase sensor range. If you only want to monitor a small driveway or garden, then you need to turn down sensitivity. You will see a dial labelled SEN or RANGE. Turn it counterclockwise to lower sensitivity and clockwise to increase it.
To test the sensitivity of your outdoor light sensor, walk in front of it at different distances (remember to use tape on the photocell or turn on test mode). Start from the farthest point of the area you want to monitor. If the light comes on, walk even further and see if it still comes on. If it does, lower the sensitivity a bit to keep the light from being triggered by nuisance movements.
If at the furthest point the light doesn’t trigger, increase sensitivity slightly until it does. Walk across the sensor at closer and closer distances to make sure it adequately covers the target area. If it doesn’t trigger when you are close to the lamp, you may need to adjust the sensor to aim a bit lower.
Here’s a great video that shows how to adjust the sensitivity and timer of an outdoor light sensor.
Adjusting the Timer of an Outdoor Light Sensor
The next setting we are going to test is the timer or duration. This determines how long the outdoor light stays on after it’s been triggered.
The best timer setting depends on your preferences. Some people prefer the light to turn off quickly after 5-10 seconds, others prefer it stays on longer for 30 seconds or more.
Avoid setting the timer too high (more than a minute). This can keep the light perpetually on since it keeps getting triggered before it turns off.
To test the timer setting, simply walk in front of the light. Once it has come on stand still or walk out of the sensor range and check how long it takes to turn off. Increase or reduce the duration setting to your preference and then test it again.
Testing the Photocell (Lux) on an Outdoor Light
The final test is the dusk to dawn setting. Most outdoor lights have a motion sensor as well as a light sensor.
The light sensor, called a photocell, ensures that the light doesn’t come on during the day even if there is movement. But not all outdoor sensor lights have a photocell (meaning you have to turn the light switch off in the morning to keep it from coming on when it’s daytime). Check if yours has it; it looks like a small lens.
You can test the photocell by putting black tape on it to simulate night time (make sure test mode is off). Then walk in front of the light and see if it comes on. If it doesn’t, the sensor has probably malfunctioned or some light is still getting in. To be sure, wait for nighttime and see if the light comes on.
You’ll also need to test what level of light triggers the sensor. You probably prefer it comes on earlier in the evening for added security or maybe you want it to come on only when it’s totally dark. This is called the lux setting.
To test the lux setting, wait for the time when you’d like the light to come on. Walk in front of it and see if it triggers. If it doesn’t, lower the lux setting and test again. Keep lowering until the light comes on when you walk in front of it.
If, on the other hand, you find the light comes on too early, turn up the lux setting until the light comes on only at your preferred time.
Tip: You can also turn down the lux setting if there is a lot of artificial light nearby such as from a street light. This will ensure the street light doesn’t keep the motion light from turning on.
When To Test an Outdoor Light Sensor
- When you buy a new outdoor light. Test it immediately after installation to make sure it is placed at the right location and the settings are correct for your particular situation.
- If there is a problem with the outdoor light. For example if it won’t turn off, it keeps coming on at random times, it won’t turn on even if there is movement and so on. Testing the sensor will help you narrow down the problem (tip: reset the sensor light first and see if that solves the problem).
- When you change the location of the outdoor light.
- It’s also a good idea to test the outdoor light regularly — once or twice a year — to make sure it is still working properly. The light may no longer be working and you don’t realise it. At the same time you test the sensor, also clean using a soft dry cloth. Debris and dirt can interfere with the function of the light sensor.


